Local Analytics
Orb Local Analytics is an open source project that allows you to easily stand up a simple "TIG stack" (Telegraf, InfluxDB, Grafana) set of containers to receive and visualize Orb Datasets via Orb Local API or Data Push.
Quick Start
Local API
Local API is a great option if you have a small number of Orbs running on the same network and do not wish to use Orb Cloud. You can build an Orb Cloud-like experience for your home lab with complete control, and it even works with our Free plan!
Orb Local Analytics utilizes Docker containers. Before you begin, read through the instructions and consider where you would like to run Orb Local Analytics. Running on your laptop is a good first pass for experimentation and configuration, but a more persistent environment such as on a VM for containers running on a Proxmox host, or a dedicated Raspberry Pi with an M.2 hat might make more sense.
Local Analytics requires Orb app versions 1.3 and above and an Orb Cloud account.
Clone the repository:
git clone [email protected]:orbforge/orb-local-analytics.git
cd orb-local-analytics
Run the configuration script:
./configure.pySelect the api option (default):
== DATA DELIVERY METHOD ==
API  - Telegraf polls individual Orbs (pull).
Push - Orbs post directly to the Telegraf HTTP listener.
NOTE: Push is only supported for certain Orb Cloud customers.
Select api or push delivery method [api]: api
Using api delivery method.
Enter 1,2,3,4 as the Datasets options:
=== DATASETS SELECTION ===
  1. scores_1m
  2. responsiveness_1s
  3. speed_results
  4. web_responsiveness_results

Enter numbers (comma-separated) or names (also comma-separated)
Examples: 1,3  or  scores_1m,speed_results
Datasets to enable: 1,2,3,4

Datasets (4):
  - scores_1m
  - responsiveness_1s
  - speed_results
  - web_responsiveness_results
For each Orb you wish to configure to report to Local Analytics, enter the hostname or IP address and the desired port (default 8000)
=== DATA API CONFIGURATION ===

=== ORB INPUT CONFIGURATION ===
Enter Orb instances to use as inputs (hostnames must be routable from this machine).
Press Enter with empty hostname to finish.

Orb #1 hostname (or press Enter to finish): 192.168.1.1
Port for 192.168.1.1 [8000]: 8000
Added: 192.168.1.1:8000

Orb #2 hostname (or press Enter to finish):

=== CONFIGURATION SUMMARY ===
Delivery: API
Orb instances (1):
  - 192.168.1.1:8000
Generate the Telegraf configuration:
Generate telegraf.conf with this configuration? [Y/n]:  [n]: Y
Generated collector ID: 88886

✅ New telegraf.conf generated successfully!
Total HTTP inputs configured: 4
The configure.py script will generate configurations for each of the Orbs you specified. You will need to now configure each of them:
- Go to https://cloud.orb.net/status
- Find the Orb with the matching hostname
- Click the "…" next to the name and click "Edit"
- Copy the provided configuration and paste into the “Config” text area
- Click “Save
Repeat this step as many times as needed.
Once complete, we will start the Local Analytics image:
docker compose up -dFinally, to access your standard dashboard:
- In your browser, visit http://[hostname]:3000 (http://localhost:3000 if running locally)
- Enter default username and password: admin/admin
- Change your password when instructed
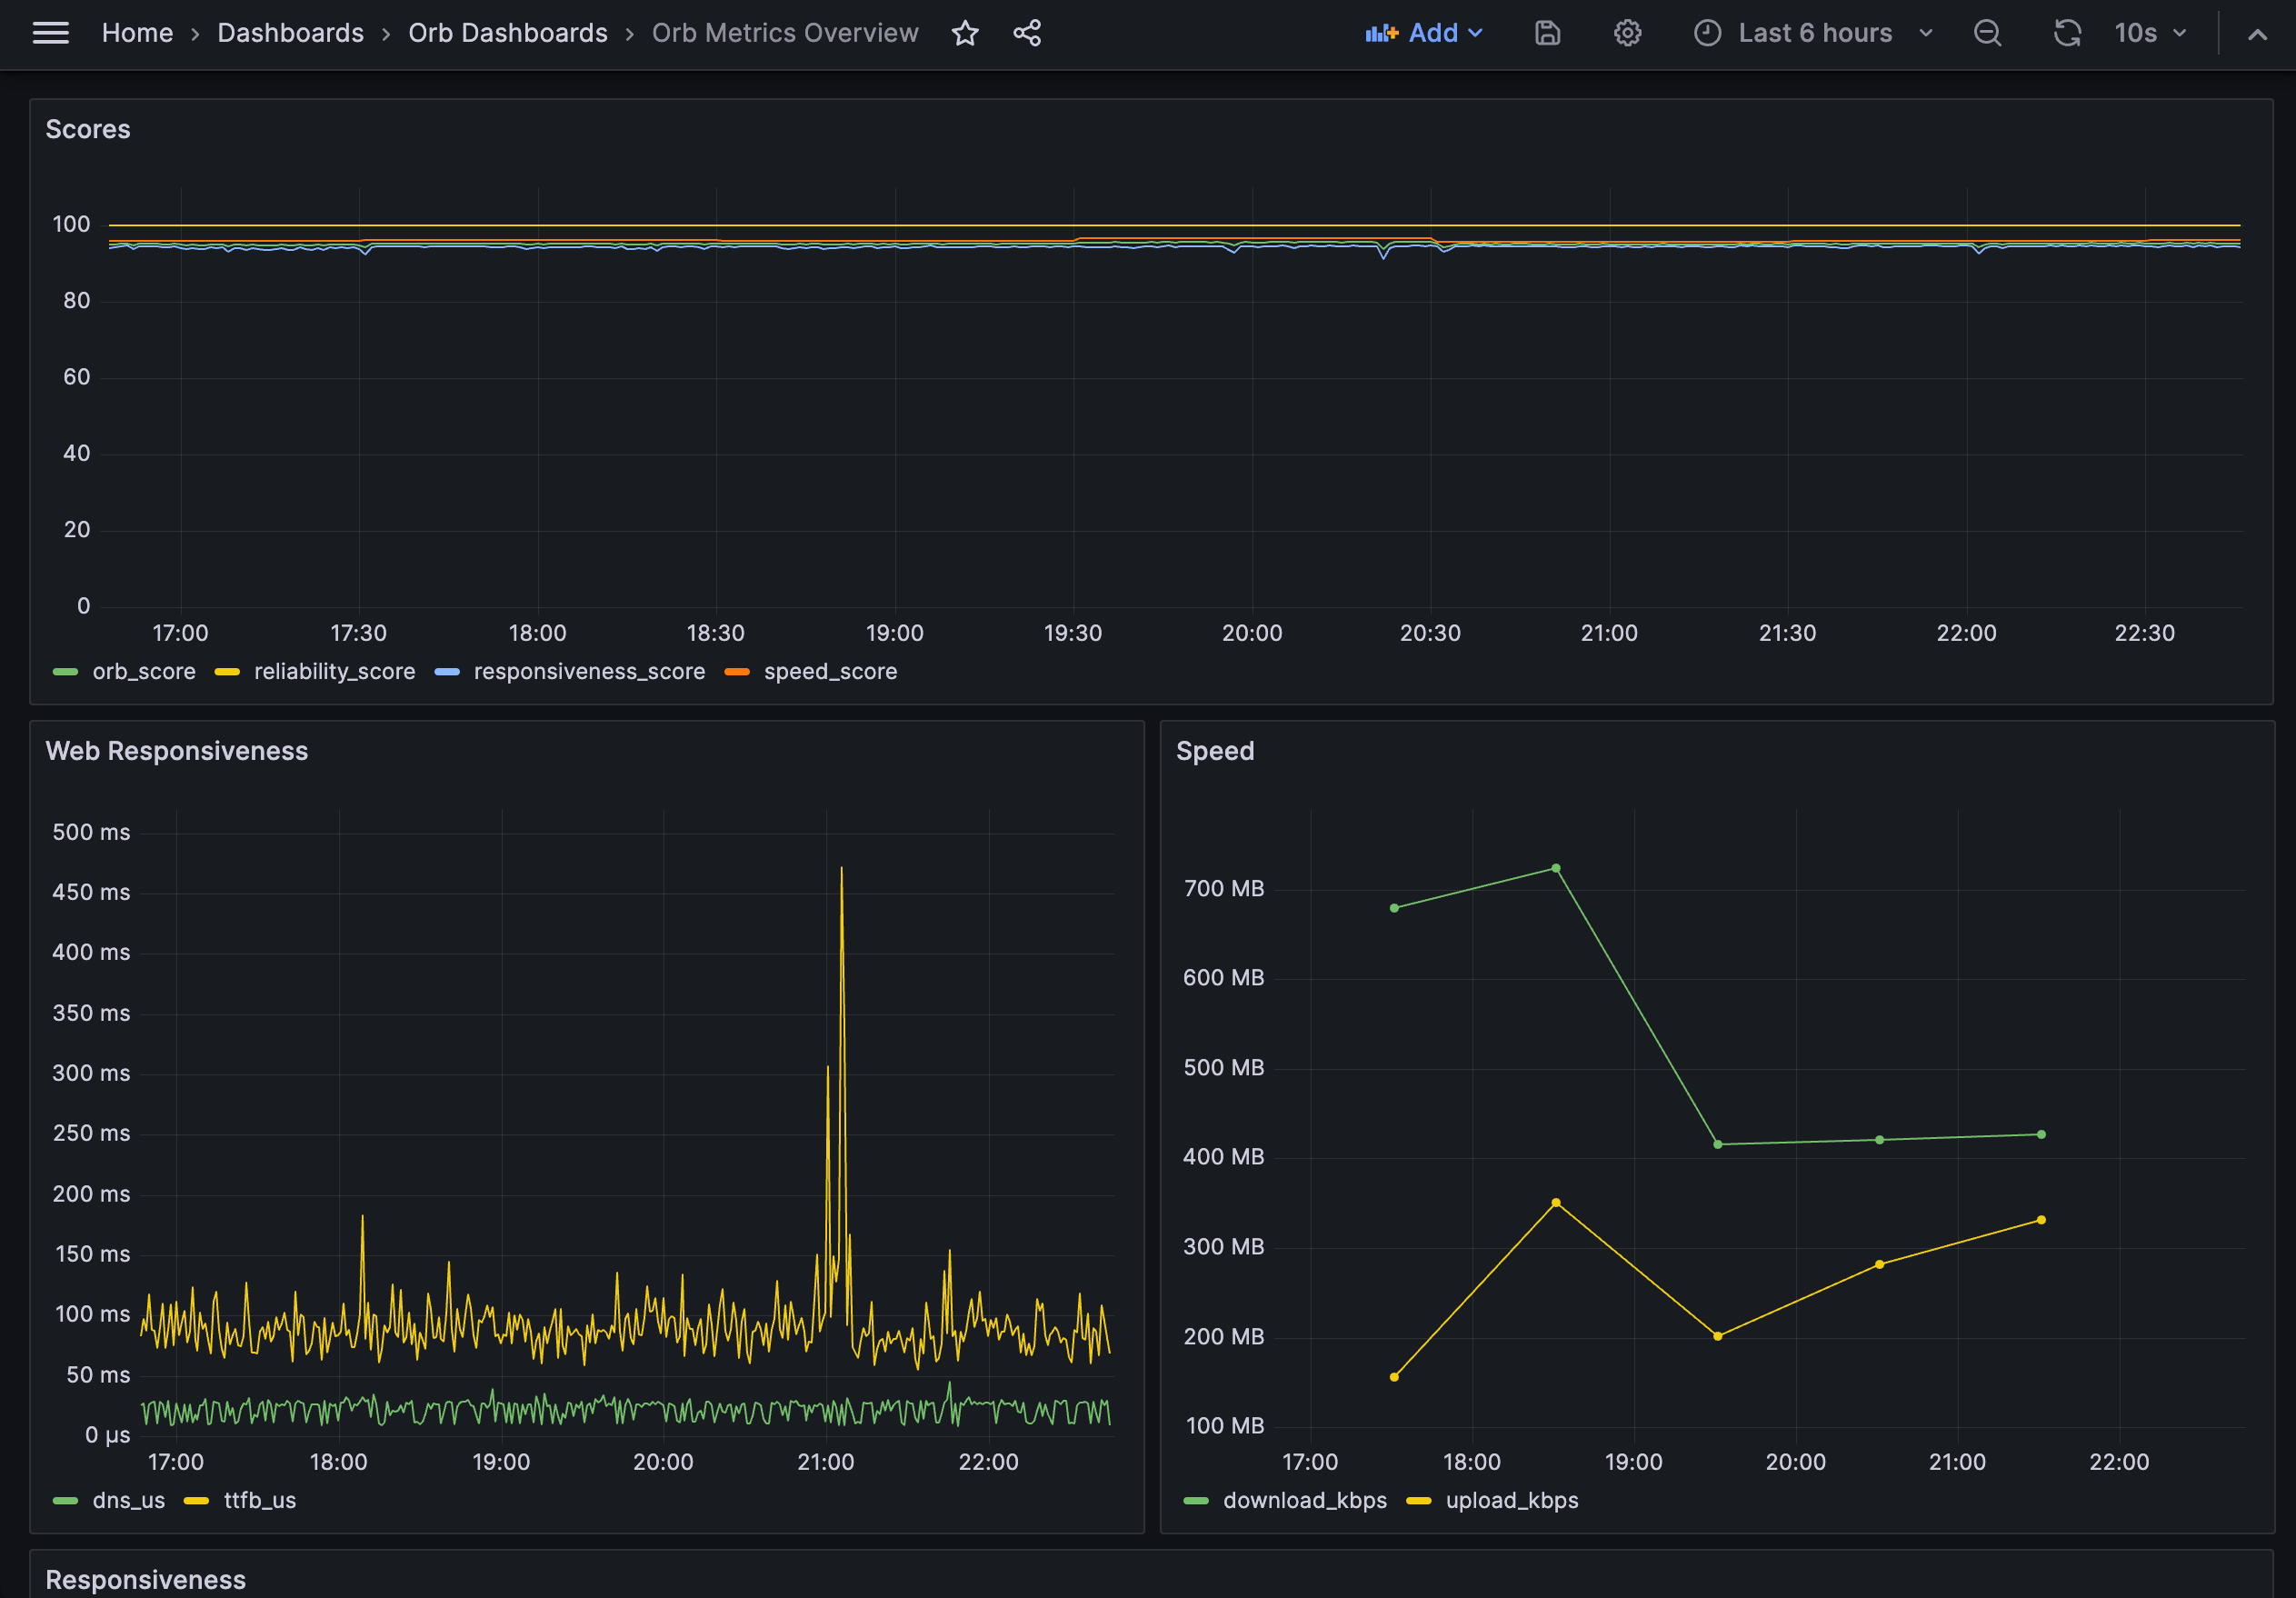
- Go to "Dashboards" (in hamburger menu) and open "Orb Metrics Overview" in "Orb Dashboards" folder
You may now modify your dashboard as you see fit or make new ones!