Linking an Orb to Your Account
This guide explains how to link Orb sensors to your account, allowing you to monitor multiple devices or locations from all Orb app instances.
What is an Orb Sensor?
An Orb sensor is any device running the Orb software that monitors network connectivity. This can be:
- Your smartphone or tablet with the Orb app installed
- Your computer running the Orb desktop application
- A dedicated device like a Raspberry Pi running the Orb agent
- A router with Orb monitoring capabilities
Benefits of Linking Multiple Sensors
Linking multiple sensors to your account provides several advantages:
- Monitor different networks (home, office, vacation property)
- Compare wired vs. wireless performance
- Track network health in different parts of your home
- Have a dedicated 24/7 monitoring device while still using the mobile app
Linking Methods
Orbs can be linked to your account via the device running Orb or remotely.
If you are managing and deploying many Orbs, or have complex configuration needs, consider utilizing Deployment Tokens.
Orb on Your Phone, Desktop, or Tablet
If you have the Orb app installed on your phone, tablet, or desktop, you can link it to your account by signing in.
- Install the Orb app on the new device
- Open the app and tap "Sign In"
- Enter your Orb account email and password
- The device will automatically be added as a sensor to your account
Orb on Another Device (e.g., Raspberry Pi)
Automatic Discovery (Recommended)
If your new Orb sensor is on the same local network as a device already signed in to your Orb account:
- Install Orb on the new device
- Start the app and wait for the automatic discovery process
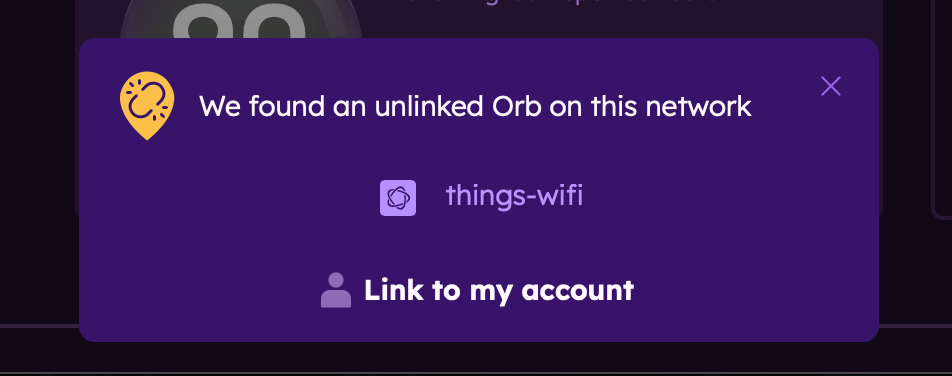
- On your already-linked device, you'll receive a notification about the new sensor
- Tap "Link to my account" to connect the sensor
Manually Linking a Discovered Sensor
If you want to link an Orb sensor that was automatically discovered (listed under "Orbs on this network"):
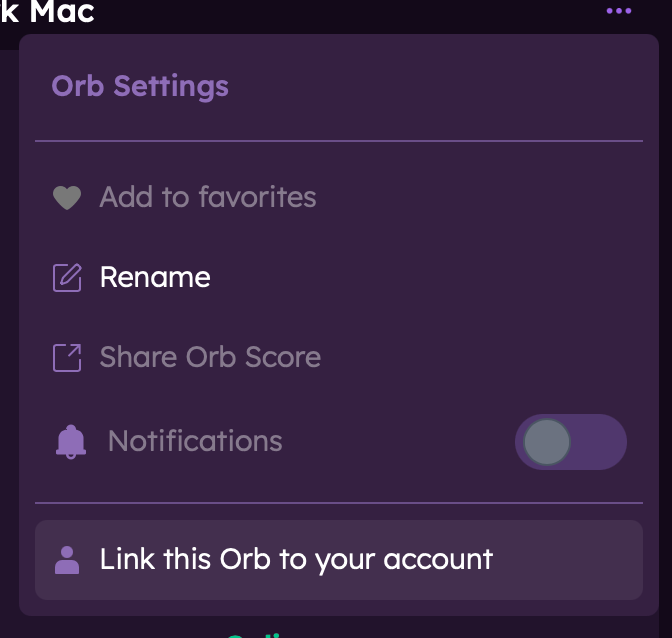
- In the Orb Summary, find the Orb sensor you would like to link (see "Orbs on this network")
- Tap on the Orb settings menu (... near the sensor name)
- Tap "Link this Orb to your account"
Note: this method will only work for headless/CLI devices (e.g., Raspberry Pi). To manually link a device running the Orb app, sign into your account from this device.
Linking a Sensor from the CLI
If the newly started Orb sensor is not automatically discovered, you can link it manually using the command line interface:
Open a terminal on the device
Run the
orb linkcommand
Note: this command needs to be run as the same user that runs the Orb Sensor.
You could usesuto switch to that user before running the command, or you can usesudoto run the command as that user directly.
On most systems (Debian, Redhat, Alpine), this is typically theorbuser. For OpenWRT variants, it is typically therootuser.For example, if you are using Debian or Redhat, you can run:
sudo -u orb orb linkThe output of that command will include a short URL to link to your account
Copy that URL into a browser on any machine, and log in to your account at the prompt
That Orb will now show up in any app where you’re logged in
Managing Linked Sensors
Naming Your Orb Sensors
After linking a sensor, it's helpful to give it a descriptive name:
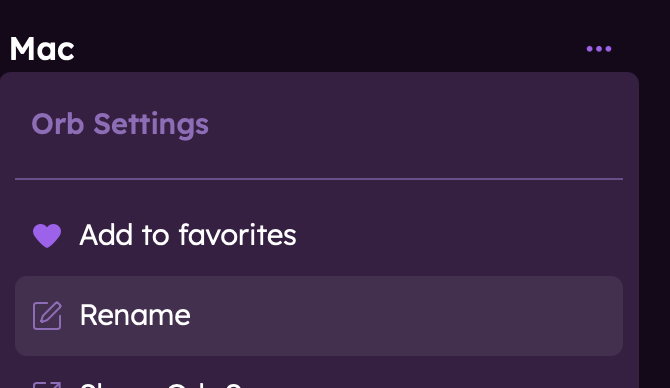
- In the Orb app, go to the Orb settings menu (...)
- Tap "Rename" and enter a descriptive name (e.g., "Living Room Pi", "Office Desktop", "iPhone")
- Tap "Save"

Unlinking a Sensor
If you need to remove a sensor from your account:
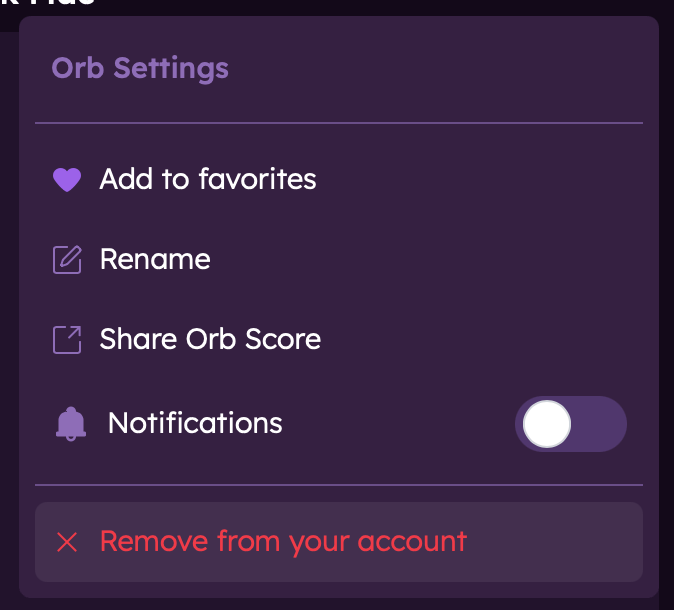
- In the Orb Summary, find the Orb sensor you would like to unlink
- Tap on the Orb settings menu (...)
- Tap "Remove from your account"
Note that unlinking a sensor will not delete historical data already collected from that sensor.
Troubleshooting
Sensor Not Discovered Automatically
If automatic discovery fails:
- Ensure both devices are on the same local network
- Check that your network allows device discovery (some corporate or public networks restrict this)
- Try the CLI linking method instead
Next Steps
Now that you've linked your sensors, learn more about: